Table of Contents
Preparing Your Lawn for Overseeding in the Fraser Valley
Knowing how to prepare your lawn for overseeding in the Fraser Valley guarantees results in a resilient, dense turf: the process relies on timing the work for late summer or early fall in the Fraser Valley, cutting the existing grass to a uniform low height, and topdressing with a thin layer of compost so seed makes firm contact with the soil. According to Health Canada’s sustainable lawncare guidelines, mowing the grass to roughly 6 to 8 cm before spreading seed allows better light and moisture penetration while the lower canopy protects the new seedlings as they establish. We follow that same approach across the Lower Mainland, applying a compost topdress that improves germination without burying the existing turf, which keeps the lawn vigorous through our mild wet autumns. With the lawn prepped, practical factors determine how well the seed takes—starting a review before any seed goes down keeps the project on track and supports landscaping.
Essential Prerequisites for Overseeding Success
Before you overseed, certain prerequisites must be in place to give the new grass its best start. We follow proven soil preparation methods to create an optimal growing environment in the Fraser Valley.
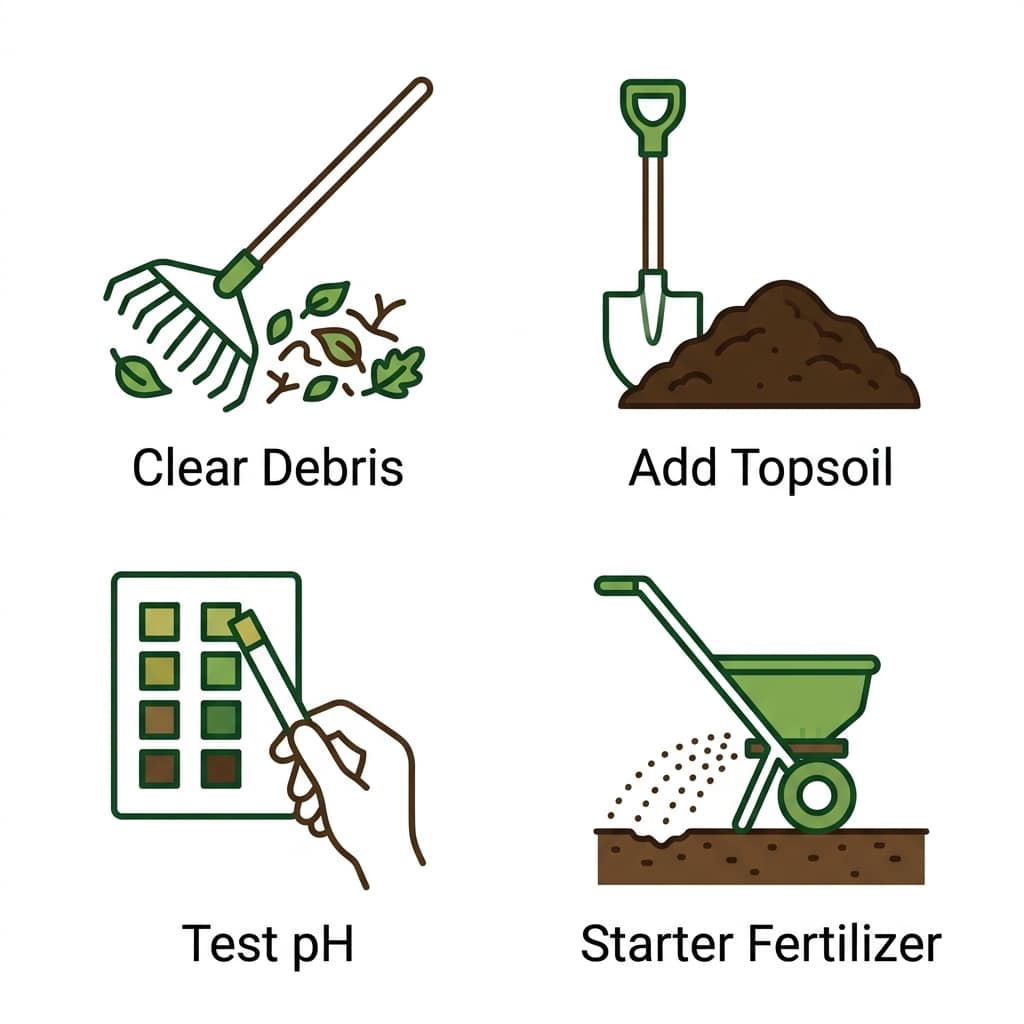
Government gardening guidelines recommend the following preparation steps to support strong germination and root development:
- Clear debris and assess drainage: Remove thatch, dead grass, and debris so seed contacts the soil. Improve drainage where water pools, because saturated soil suffocates new roots.
- Add 10 to 20 cm of quality topsoil: A deep, fertile, well-aerated loam bed gives seedlings the loose, nutrient-rich medium they need to establish quickly.
- Test and adjust soil pH: Grass thrives in soil with a pH between 6.0 and 6.5. Amend acidic or alkaline soil with lime or sulphur accordingly before seeding.
- Apply a starter fertilizer high in phosphorus: Phosphorus supports vigorous early root growth, helping seedlings anchor firmly and access water and nutrients sooner.
With these fundamentals addressed, you can evaluate your lawn’s current condition to determine the exact overseeding approach needed. Let’s elevate your outdoor living with a lush, healthy lawn.
Step 1: Assess Your Lawn’s Current Condition
A thorough evaluation of your lawn’s current condition establishes the foundation for every overseeding decision that follows. We recommend walking the entire property to examine grass density, identifying areas where turf has thinned or exposed bare soil. Check for a spongy layer of dead organic matter underfoot—thatch thicker than 1 cm can block water and nutrients from reaching the root zone.
Measure the existing grass height as part of your assessment. Health Canada’s sustainable lawn care guidance indicates that maintaining grass between 6 and 8 cm encourages deeper root development and better resilience against stress. Note any visible weeds and their distribution, as widespread weed pressure often points to underlying soil or drainage problems.
Observe how water behaves after rain, especially in low spots where pooling persists. These areas may need grading correction or soil amendment before seeding. What you discover during this walkthrough will pinpoint which soil amendments and preparation steps your lawn actually needs.
Key Takeaways
- After assessing your lawn’s condition and identifying bare or thinning areas, it’s time to turn your attention to the soil itself.
- After testing and amending the soil, the next task is to clear debris and dethatch to prepare a clean seedbed.
- Even after clearing debris and dethatching, the soil beneath can remain compacted.
- A level seedbed is critical for uniform germination and to prevent water pooling.
- Even seed distribution is one of the most important steps in an overseeding project, as Health Canada’s sustainable lawn care guidelines note that proper cultural techniques promote dense, healthy turf.
Step 2: Test and Amend Your Soil
After assessing your lawn’s condition and identifying bare or thinning areas, it’s time to turn your attention to the soil itself. An important part of preparing your lawn for overseeding is testing and amending your soil to create the right growing environment. Grass roots need deep, fertile, loamy ground with a pH between 6.0 and 6.5, according to Health Canada’s home and garden safety guidelines.
If the reading falls below the ideal 6.0–6.5 range, apply garden lime following the package rates. Once the pH is corrected, rake the surface lightly and broadcast a starter fertilizer high in phosphorus, which encourages strong initial root development during the overseeding window. Hughes Landscaping Services offers professional soil testing and amendment for properties across the Fraser Valley.
With the soil properly conditioned, you can proceed to clear debris and prepare the surface so the seed makes solid contact and germinates evenly.
Step 3: Clear Debris and Dethatch
After testing and amending the soil, the next task is to clear debris and dethatch to prepare a clean seedbed. Rake the lawn to remove leaves, twigs and grass clippings, gathering debris to prevent matting that can shade seedlings and trap moisture. We recommend collecting stones and other visible material so seeds make direct contact with soil.
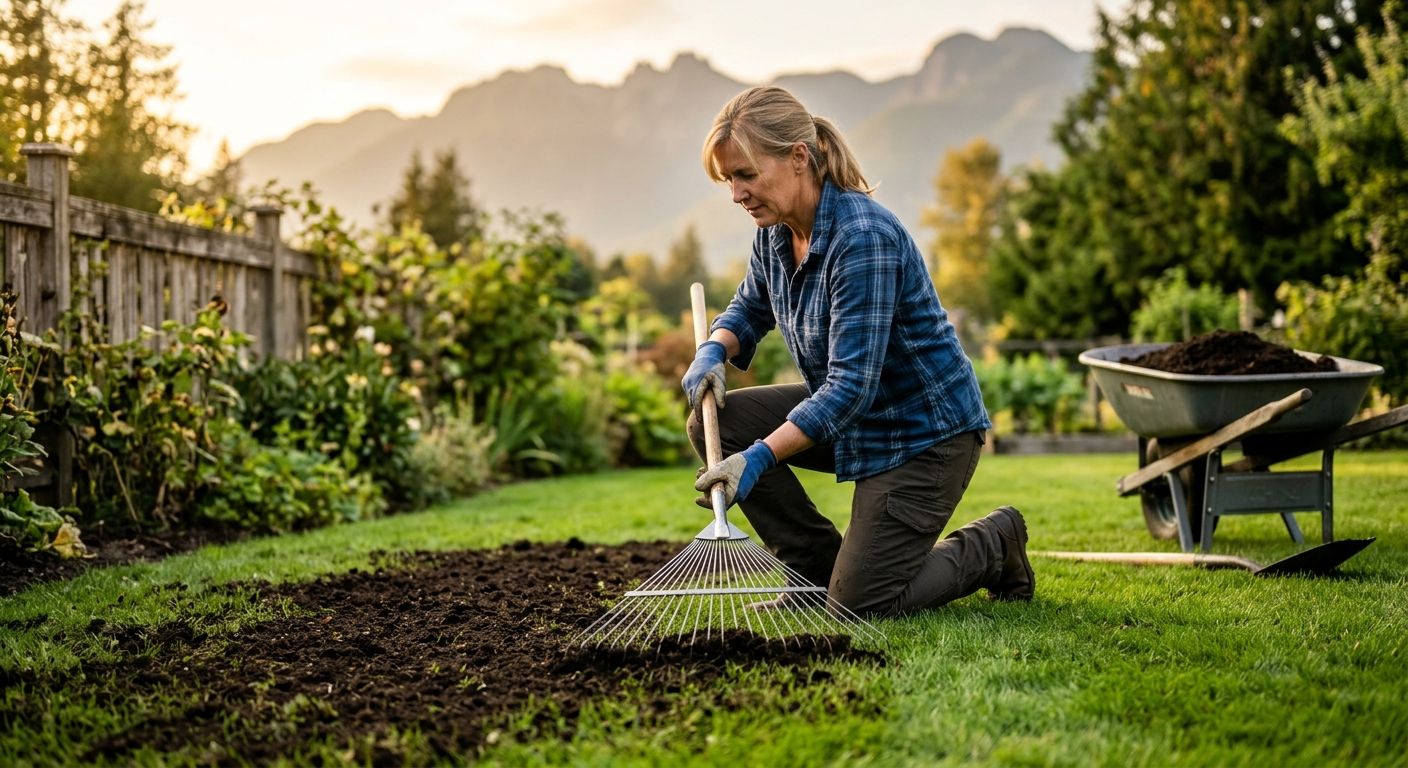
Dethatching follows. Thatch, a layer of dead stems, roots and organic matter, can block water, nutrients and seed contact. In the Fraser Valley thatch builds up quickly, so we recommend a stiff garden rake for small areas or a power dethatcher for larger lawns, working gently to lift the layer rather than strip the canopy, which can leave bare patches.
Health Canada’s guidance notes that clearing debris and preparing a clean planting surface supports healthy root growth. Once debris is removed and the thatch is thinned, the lawn is ready for aeration to relieve compaction and maximize seed contact.
Step 4: Aerate for Optimal Seed Contact
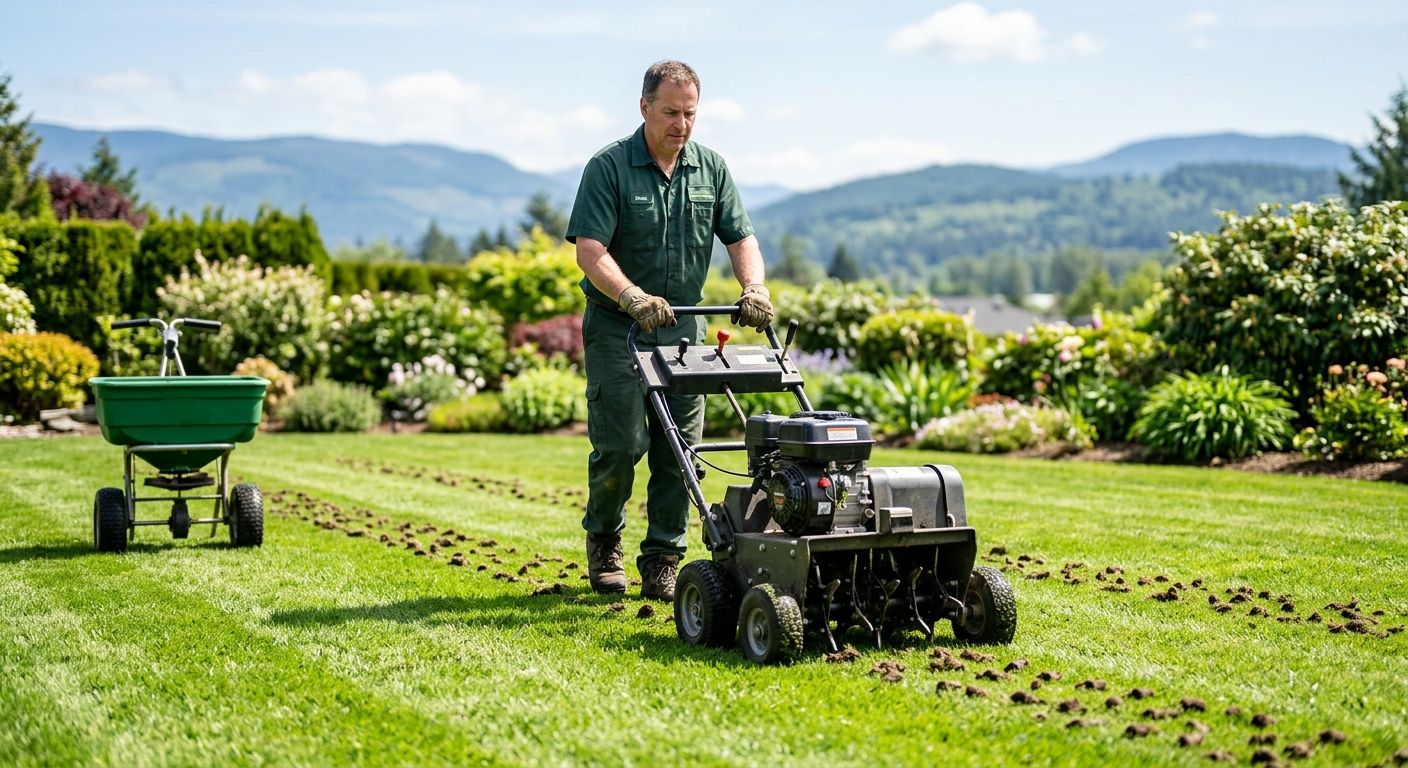
Even after clearing debris and dethatching, the soil beneath can remain compacted. That compaction prevents grass seed from making direct contact with the soil. Core aeration solves this by removing plugs of soil, creating channels where seed can drop into firm contact with the ground. During overseeding preparation, we recommend aerating when the soil is moist but not waterlogged; moist conditions allow clean penetration without tearing the turf. A core aerator, or plug aerator, is more effective than a spike aerator because it removes soil plugs, relieving compaction and improving air, water, and nutrient movement. For compacted heavy-clay soils typical of the Fraser Valley, the Government of British Columbia advises mechanical aeration every one to two years. After aeration, leave the soil plugs on the lawn; they will break down and return organic matter to the soil. Once aeration is complete, the lawn may still show minor uneven spots, which the next step will address by leveling.
Step 5: Level Uneven Areas
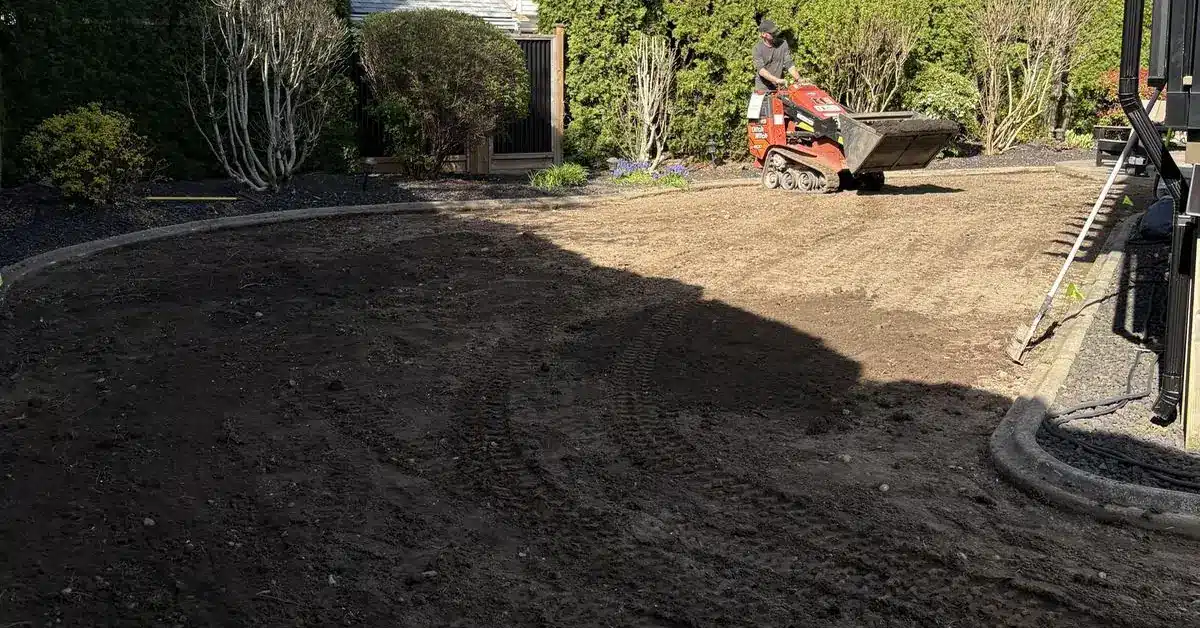
A level seedbed is critical for uniform germination and to prevent water pooling. After aeration, the lawn often has low spots from core removal and ridges from loosened soil. Walk over the area and look for depressions that hold water and for higher patches where soil has heaved.
Before adding topsoil, clear away any debris like branches, stones, or loose thatch, as Health Canada advises for site preparation. For high areas that feel compacted, we recommend loosening the soil with a garden fork before leveling.
Fill the low spots with quality topsoil, building the depth to 10–20 centimetres (4–8 inches) for healthy rooting, as recommended by Health Canada. Rake the surface smooth, then walk over it to settle the soil and identify any remaining dips. Repeat the filling and leveling until the seedbed is uniformly even.
Once the surface is level and debris-free, the site is ready to receive starter fertilizer to support new seed germination.
A phosphorus-rich starter fertilizer gives newly germinated grass seedlings the nutritional support they need to develop a deep, resilient root system. According to Health Canada’s home and garden safety guidelines, choosing a formulation high in phosphorus encourages initial root development, which is critical during the post-seeding establishment phase. We apply the starter fertilizer only after the soil has been leveled and before any seed touches the ground, so the nutrients are immediately available where the emerging roots will reach them. For even distribution, we use a broadcast spreader across larger lawns or spread the granules carefully by hand over small patches, following the product’s rate instructions. If the prepared soil is dry, a light watering after application helps move the nutrients into the root zone without washing them away. Once the fertilizer is worked in, the soil is ready for uniform seed distribution.
Step 7: Distribute Seed Evenly
Even seed distribution is one of the most important steps in an overseeding project, as Health Canada’s sustainable lawn care guidelines note that proper cultural techniques promote dense, healthy turf. We recommend choosing a drop spreader for small or irregularly shaped lawns—it offers precise placement control and keeps seed contained along edges and planter beds. For larger, open areas we suggest a broadcast spreader.
To achieve uniform coverage, divide the total seed amount into two equal portions. Spread the first portion walking in a north-south pattern, then apply the second portion traveling east-west; this perpendicular approach greatly reduces gaps and thin spots. Before starting, calibrate the spreader to the seed manufacturer’s recommended setting for your specific grass type.
Take care to avoid overlapping passes, which can create overly dense seed clusters that compete for nutrients. A simple string line or temporary stakes will help you keep each pass straight and evenly spaced.
Overcoming Common Overseeding Challenges
Weed competition and patchy germination are the most persistent hurdles homeowners face after spreading fresh seed. These issues rarely stem from a single cause, but official provincial guidance from the BC Government confirms that healthy, resilient turf acts as the most effective defense against unwanted yard weeds. When grass is given the right conditions to establish, it naturally fills thin areas before invasive species can take hold.
Aeration plays an essential role in that establishment process, especially on the compacted, heavy clay soils we see across the Fraser Valley and throughout the Lower Mainland. The BC Government recommends mechanical aeration every one to two years for lawns where drainage is slow or surface traffic is high. Opening the soil profile allows water, oxygen, and nutrients to reach the root zone so seedlings develop the deeper structure they need, instead of sitting in a shallow, damp layer that favors broadleaf weeds.
Mowing height is another factor that directly influences how well new grass competes. Keeping blades at the recommended six to eight centimetres after overseeding strengthens root growth and shades the soil surface, reducing the light exposure that triggers weed seed germination. If turf was cut too short before overseeding or if watering tapered off too abruptly, seedlings struggle to establish and thin patches return. Adjusting each maintenance practice to support young grass gives it the edge it needs to crowd out trouble species.
These deliberate steps, timely aeration, consistent moisture management, and taller mowing, create the foundation for the dense, even lawn that sustained care will continue to support.
Your Blueprint for a Lush, Healthy Lawn
With the common overseeding challenges behind you, it’s time to put a proven plan into action.
Health Canada’s sustainable lawn care guidelines recommend overseeding in late summer or early fall to minimize weed competition, topdressing with compost before seeding to enhance soil contact and germination, and maintaining a grass height of 6 to 8 cm for deeper roots and better drought resistance.
Deep, infrequent watering—about 2.5 cm per week applied in the morning—further strengthens turf health.
You now know how to prepare your lawn for overseeding in the Lower Mainland and Fraser Valley.
To implement these best practices with professional support, contact Hughes Landscaping for a free onsite quote, subject to inspection and may change after assessment.
We ask customers to check and obtain any required local permits for overseeding or other lawn work, and estimates exclude permit fees unless we specify otherwise.
Keep in mind that results vary depending on site conditions, weather, and ongoing maintenance.
Get Your Free Lawn Consultation
You’ve just learned how to prepare your lawn for overseeding, from essential soil tests to proper aeration and seeding techniques. Now, it’s time to bring that knowledge to life and achieve the lush, healthy lawn you’ve been planning. Our team specializes in implementing these exact overseeding practices, tailored to the unique conditions in the Fraser Valley and Lower Mainland. With our professional care, we guarantee your lawn will improve in one season, thanks to proper preparation and maintenance. We’ll start with a free on-site consultation to assess your lawn’s specific needs and create a personalized plan. Take the next step toward a thicker, greener lawn by scheduling your free assessment today. Let our experts make your outdoor space effortlessly beautiful.
Get Your Free Lawn Consultation